Knitting with Knitout Part Three: Making Our Transfers
Welcome back to the knitting with knitout series! This post will cover one quick technique, but it'll open up a lot of possibilities. I hope you're ready!
Meet the Transfer Operation
We were deliberate in choosing a rib for our example in tutorial two because of a particular property ribs have; all the stitches in a given column of stitches are either front knits or back knits. That means for a given needle index, there is only ever a loop on the front bed or the back bed. If we wanted to be able to have both front knits and back knits in the same column, we'd need to be able to transfer stitches between beds. As one might expect, this operation is called the transfer operation.
Similar to the knit and tuck operations, the transfer operation starts with the needle reaching out. However, in transferring, the hook portion of the needle pulls back while the needle as a whole remains extended. This results in the stitch still sitting on the needle (the slider part of the needle, to be exact) but being free to slide off the needle, since there isn't a hook holding it in place. The needle across from the extended needle can reach out, hook through the yarn loop, and pull back into its resting position, now with the loop held securely in its new needle.

In knitout, transfer is abbreviated as xfer, and it takes in two parameters:
the needle the stitch is currently on, and the needle the stitch must be transferred to.
Note that the transfer operation does not take a direction parameter or a carrier parameter the way the knit and tuck operations do.
This makes sense given that the operation does not involve the yarn carrier, so parameters specifying which carrier to use and which direction to move the carrier aren't necessary.
So if we want to perform a front knit but the stitch is on the back bed, the stitch must first be transferred to the front bed, and vice versa for performing a back knit when a stitch is on the front bed. One thing to be careful of that it is possible to perform a knit operation on an empty needle. Functionally that would be a tuck and would result in an extra stitch. This means you need to make sure you actually transferred your stitch to the needle you're going to knit on, otherwise you'll end up with a lot of accidental stitches.
Transferring Some Seed Stitch
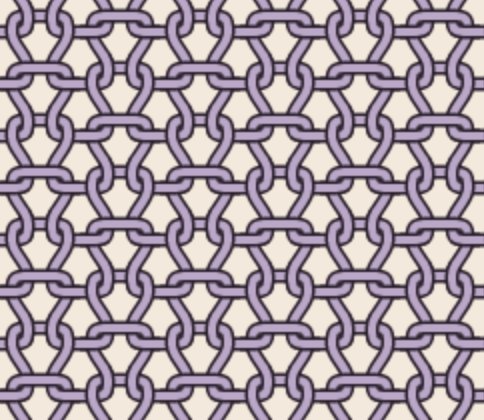
Now that we have the power of transfers, we can do any stitch pattern that uses just front and back knits (knits and purls for you hand knitters). For today's tutorial example, we'll just go over seed stitch, which can be thought of as a checkerboard of front knits and back knits. Each front knit is neighbored by a back knit in all four sides, and a back knit is surrounded by front knits.
Similar to the 1x1 rib example in Tutorial 2, we'll cast on alternating between the front and back bed needles. We'll then knit a few rows before transferring in order to ensure the stitch is stable enough to be transferred. This does mean the very first few rows won't be in seed stitch, but generally we find that slight difference preferable to missing a transfer and getting holes in the final swatch. Now, let's assume the following for loop is the row of stitches we just knit:
for (var s=width; s>0; s--) {
	if (s%2==front) {
		k.knit("-", "f"+s, carrier);
	} else {
		k.knit("-", "b"+s, carrier);
	}
}
For the next row, all the front knits need to be knit on the back bed, and the back knits need to be knit on the front bed. Thus all the stitches need to be transferred from their current bed to the opposite bed.
for (var s=width; s>0; s--) {
	if (s%2==front) {
		k.xfer("f"+s, "b"+s);
	} else {
		k.xfer("b"+s, "f"+s);
	}
}
Now that we've transferred our stitches where they need to go, we can knit our next row. Remember, the last stitch we knit was on needle index 1, which means the yarn carrier is attached to the loop on that needle. Any transfer operations since that knit does not change this, since transfers don't make use of the yarn carrier. Thus we still want to start knitting from needle index 1 to avoid creating any yarn floats. Aside from that, it's just remembering that all the stitches that used to be on the front bed are now on the back and vice versa:
for (var s=1; s<=width; s++) {
	if (s%2==front) {
		k.knit("+", "b"+s, carrier);
	} else {
		k.knit("+", "f"+s, carrier);
	}
}
Now we once again transfer all our stitches to their opposite bed:
for (var s=1; s<=width; s++) {
	if (s%2==front) {
		k.xfer("b"+s, "f"+s);
	} else {
		k.xfer("f"+s, "b"+s);
	}
}
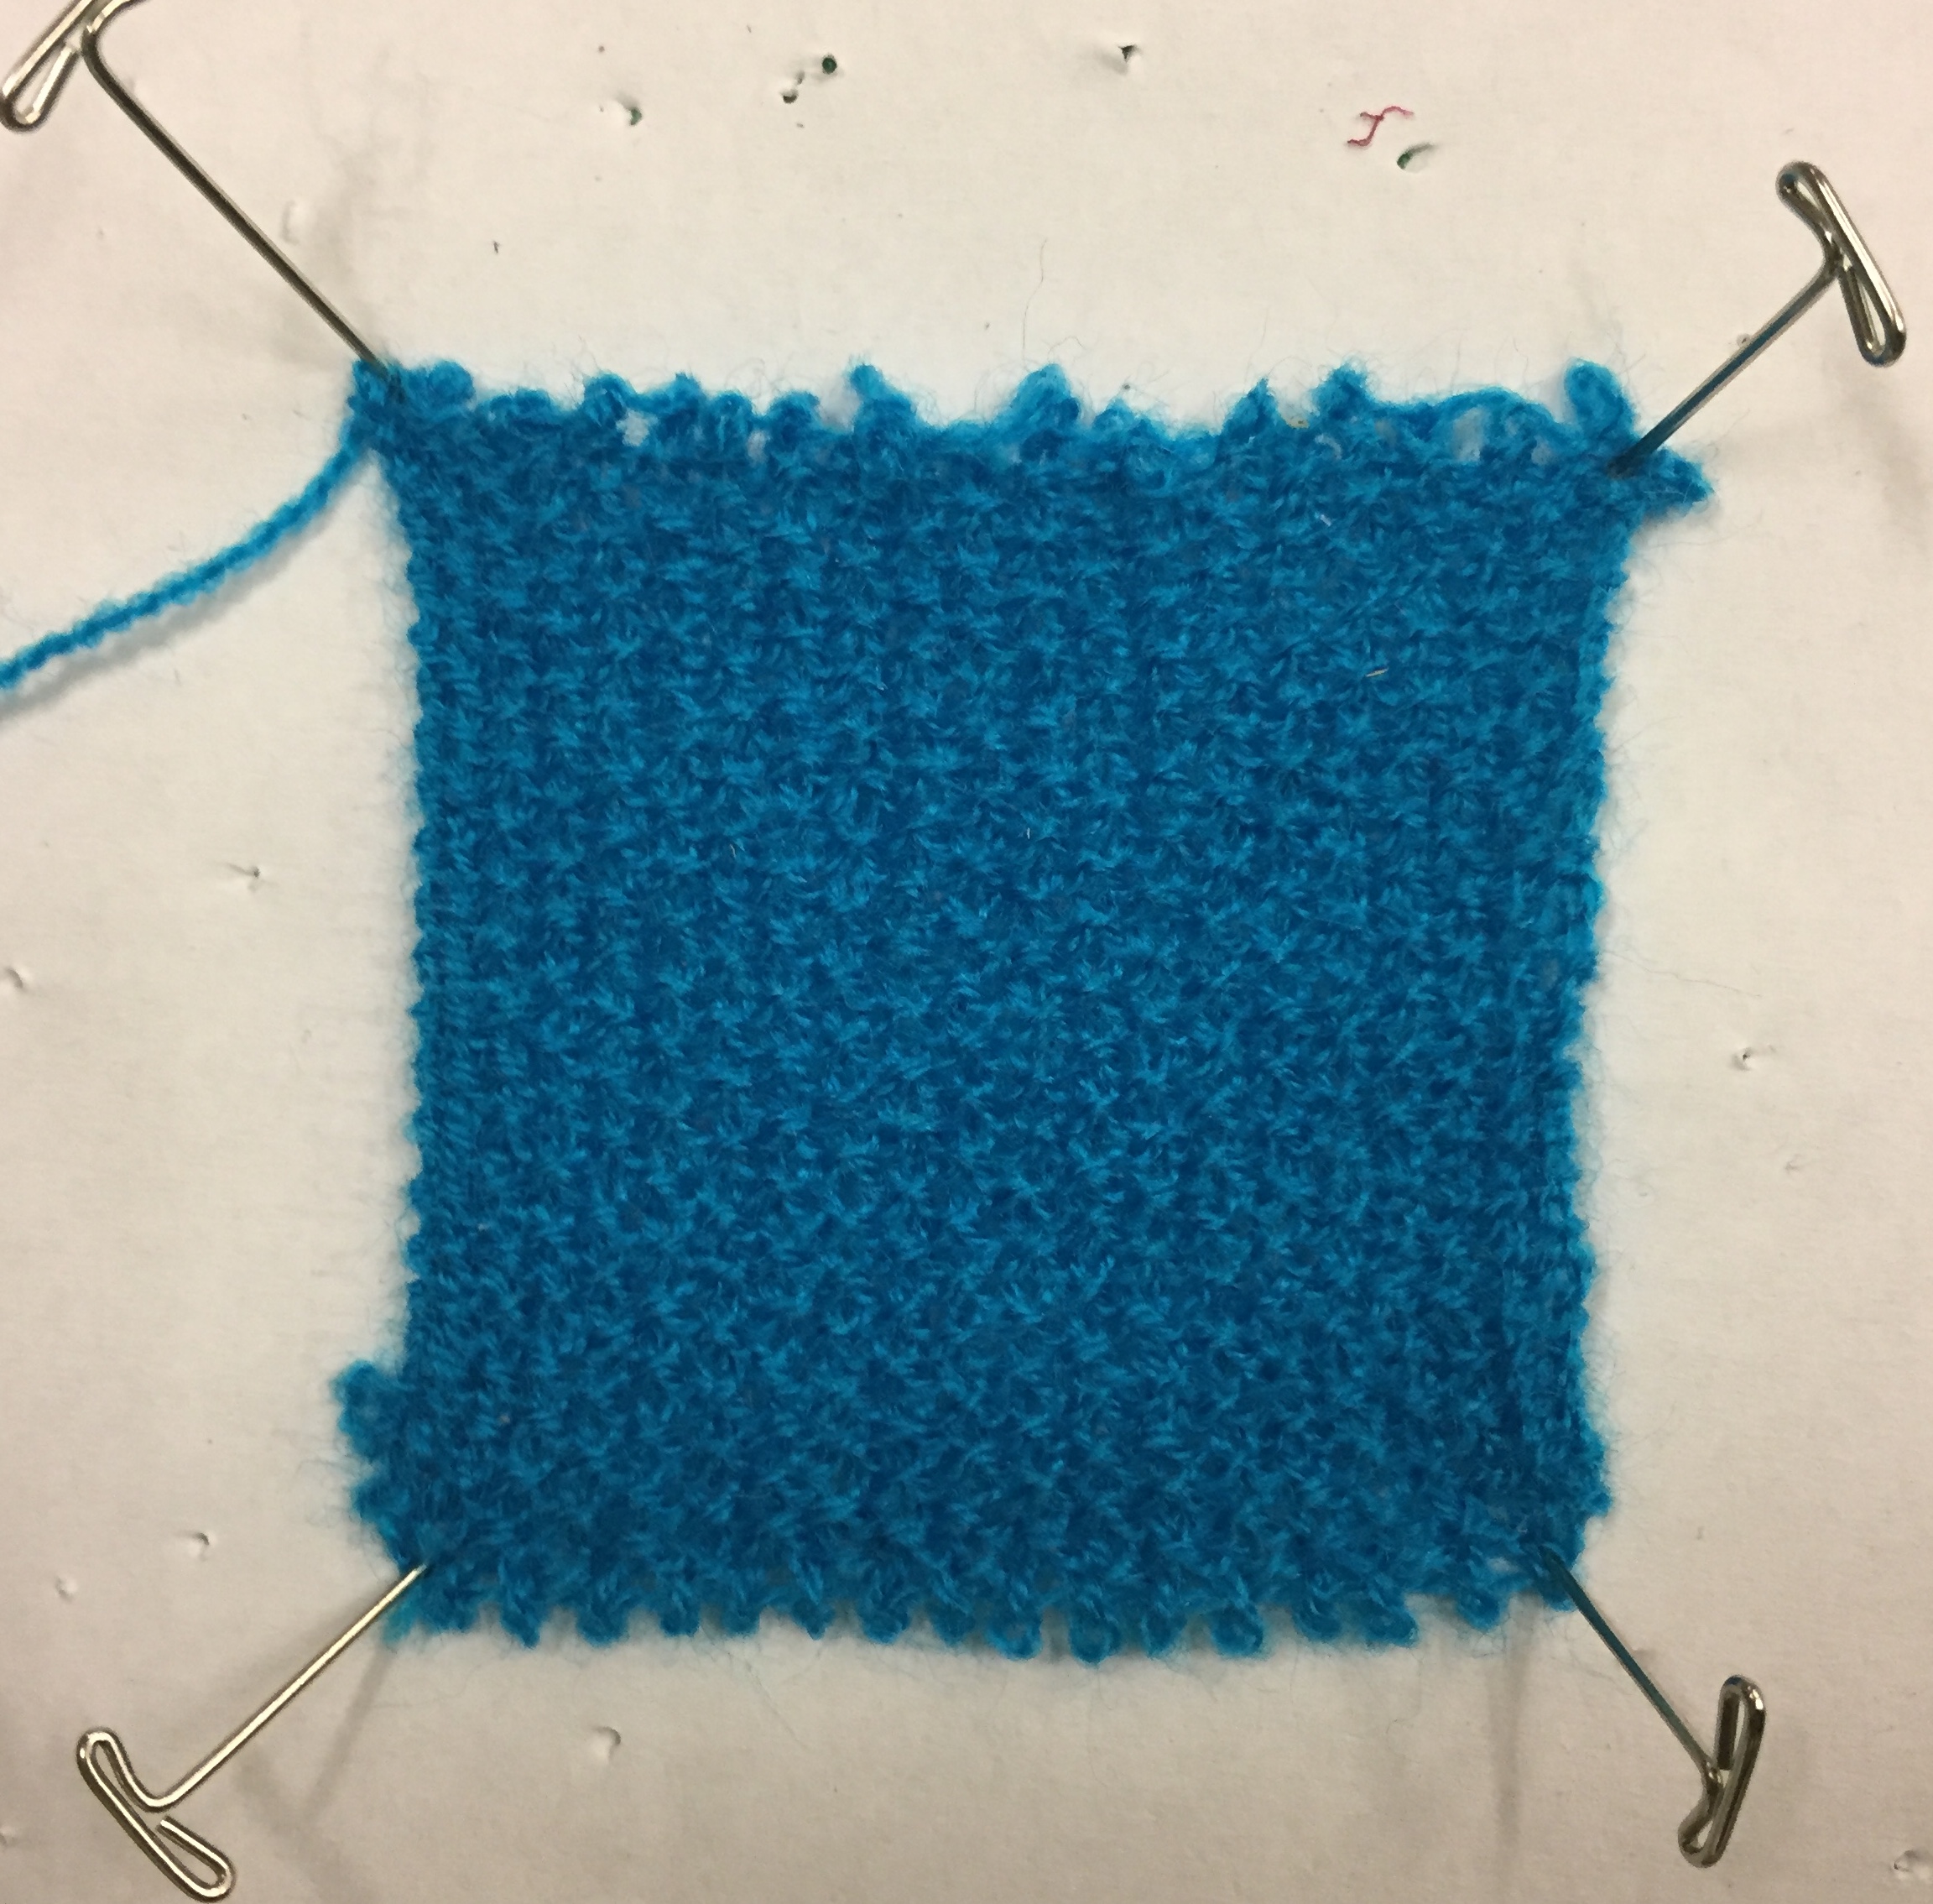
And this puts us back in the state where we started, with all 'front' stitches on the front bed and all back stitches on the back bed. We can then loop the whole thing until we have a swatch of the right length.
Make Your Own!
And with that, dear reader, you now know the basics of transferring! As mentioned before, transferring opens up a lot of pattern possibilities. We have some additional examples in the github repo, but we'd love to see what you all come up with! Translating hand knitting patterns into machine instructions is a possibility, and we have a very informative side post for those of you who are less familiar with hand knitting. Or you could just jump in and start trying stuff out! Until next time!